
SSD iMac Install, Part 2: Triumph
Last time we ended the post with a general supply list of needed items for a SSD iMac Install. If you need a refresher check out Part 1 here. I ended up having a little down time today and decided to dive in to getting my shiny new 500GB Samsung EVO SSD put where it belongs: in the optical bay of my 2010 iMac. Read on to journey with me down the wild, crazy, fun and sometimes arduous road of the beast known only as the SSD iMac install.
SSD iMac Install: Be Careful
I’ll start out with a disclaimer. This wasn’t very difficult, however, I went very slow taking around 3 hours to complete the job. If I had rushed it would have gone much faster but I tend to be very cautious. I’ve read elsewhere that guys have done this in 30 minutes (but I have a hard time believing it). Whether you go fast or slow, BE CAREFUL. There are many fragile wires that could be damaged easily.
Step 1: Remove the Screen Glass
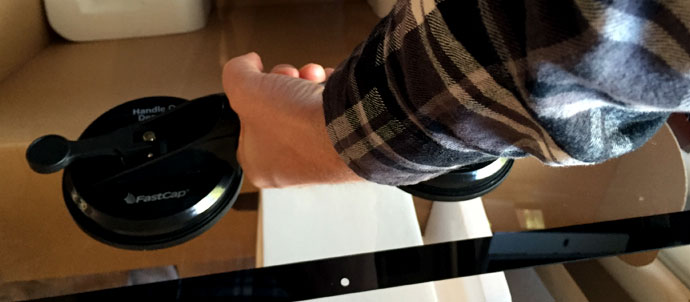
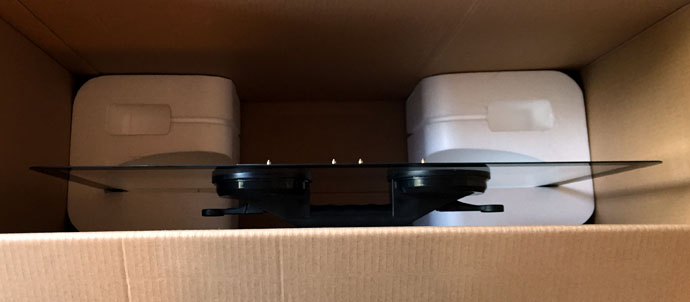
To begin, snag the tough guy suction cup handle and attach it to the front glass of the screen. The glass is held on by some pretty hefty magnets. Apply a gradually increasing amount of pressure and the glass will pop off and lift up and out easily. My original iMac box was on hand near my working space and I stashed the glass there to keep it safe. Replacement glass isn’t cheap.
Step 2: Remove the LCD
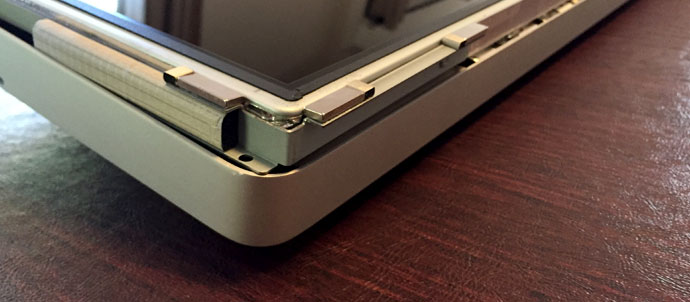
This was the most nerve-racking part of the process. Again, not difficult, but if you’re not careful this is where you will bust up some wires. Begin by unscrewing the Torx screws that secure the LCD. There are 8 of these, 4 on each side. There’s no need to remove any of the screws on the top.
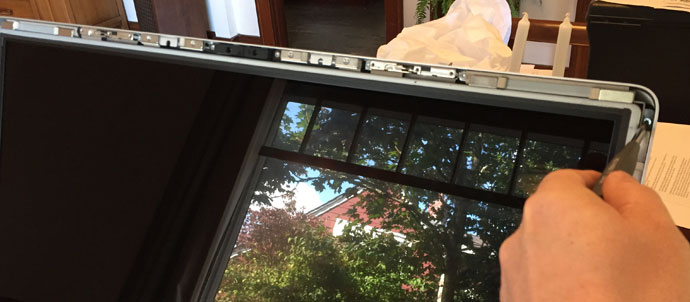
Once those are removed wedge one of the spudgers in between the LCD and the iMac case. This is a little tricky to lift out. Pry one side up with a spudger, then with one hand keep that side lifted. With the other hand, pry up the other side with a spudger. Do not lift the LCD too far out of the case at this point or you will damage wires that are connected to the back.
Next you will need to disconnect the vertical sync cable out of its socket on the LED driver board. This is near the upper left corner of the iMac. Then, disconnect the display data cable from the logic board. This cable is pretty close to the optical bay and is disconnected by squeezing together two connector arms to get it out of its socket. Only two more cables to go.
The next one is the LED backlight power cable which is attached to the LED driver board. Finally, there is a thin cable called the LCD thermal sensor cable that needs to be disconnected from the logic board. Be extra careful not to damage this one or your fan speed may be going full bore once you reassemble the machine. If that sounds overwhelming, it really isn’t. Just remember there are 4 cables to disconnect in total and be careful not to damage them.
Okay, now we’re all set to lift the LCD out of the iMac case. This can also be placed in the original iMac box for safekeeping.

Step 3: Replace the Optical Drive with the SSD Caddy
Smooth sailing from this point on! Remove the 4 Torx screws that secure the optical bay to the computer. With a spudger, gently pry the piece of foam covering the optical drive thermal sensor off of the optical drive case. This will be reattached to the SSD later. Pry the connecting cable out of the optical drive with a spudger. Lift the optical drive up and out of the computer.
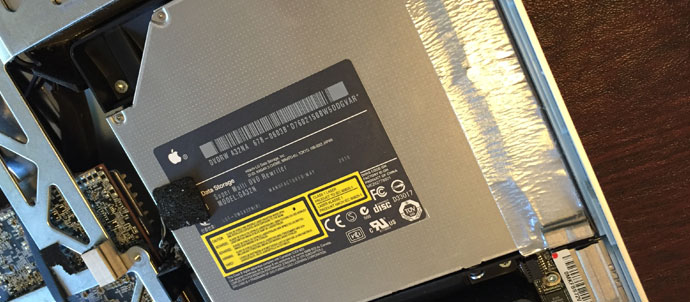
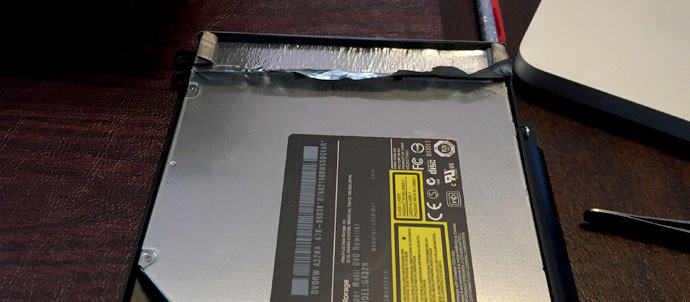
Gently peel up the portion of the shiny tape that is attached to the optical drive. This will be reattached to the new SSD caddy. There are two Torx screws in each side of the optical drive (4 total) that hold it to the plastic enclosure. Remove these.
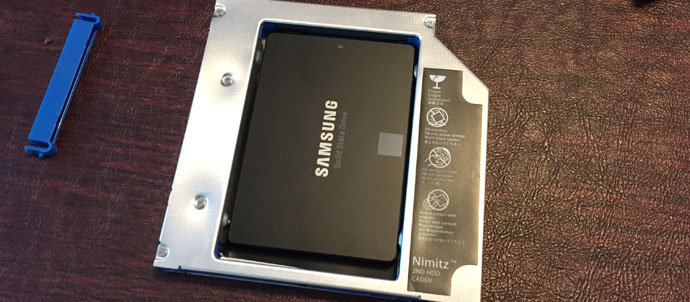
Bust open the SSD enclosure packaging and follow the instructions to get the SSD plopped in there. It’s not rocket science. Attach the SSD caddy to the plastic optical bay enclosure. Follow the instructions in reverse to get your beast of a machine back together. Nice work!
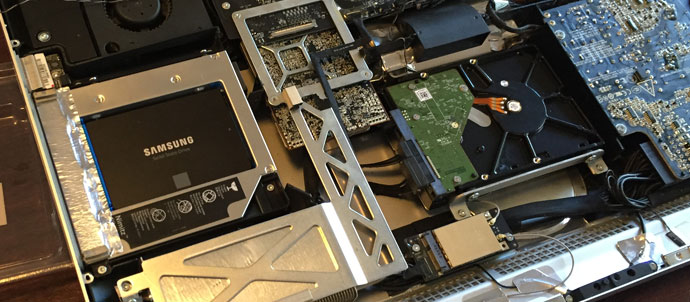
In my case, the drive was automatically recognized as the startup disk because I had hooked it up externally prior to doing the internal install. Once I turned my machine back on everything was roses.
Mind Blowing Speed
I was pretty blown away with the speed, even though I’m only getting the benefits of SATA 2 out of a SATA 3 drive. There is one final step, and it’s debatable whether or not it’s necessary, but I did it just for fun. With the release of El Capitan Apple gave us the ability to force TRIM support on third party drives. TRIM automatically optimizes an SSD over the course of it’s life. Open up the Terminal app and type sudo trimforce enable. Apple will spit out a bunch of legal mumbo jumbo not holding them responsible for data loss and blah, blah, blah. Follow the prompts given and your new SSD will be all set up with TRIM. UPDATE, 10/26/15 After a little more research, I disabled TRIM on my drive. Disabling it is as simple as sudo trimforce disable. It turns out there is a bug that affects Samsung drives specifically when TRIM is enabled. You can read more about it here. Before enabling TRIM on your SSD make sure you research your specific drive to determine whether or not it’s a good idea.
So that does it! A complete SSD iMac install. I can’t reiterate enough: take your time and be careful not to damage anything, mainly while removing the LCD from the iMac body. It’d be a shame to create a hassle and more work because of carelessness. Off to the races!